Visual Inspection Systems
How Machine Vision Can Improve Your Business
Machine vision is a powerful tool that can be used to automate a wide variety of tasks in manufacturing and other industries. By using machine vision, you can improve the quality of your products, reduce costs, and increase efficiency.
ManEx uses Omron, Sick, and Cognex cameras to provide high-quality machine vision solutions. Our cameras are used for a variety of applications, including:
- Quality inspection: Our cameras can be used to inspect products for defects, such as cracks, scratches, and missing parts.
- Measurement: Our cameras can be used to measure the size, shape, and position of objects.
- Identification: Our cameras can be used to identify objects, such as barcodes, labels, and components.
- Guidance: Our cameras can be used to guide robots and other machines.
Our machine vision solutions are reliable, accurate, and easy to use. We offer a wide range of cameras and software, so you can find the perfect solution for your needs.
Inspecting printed data
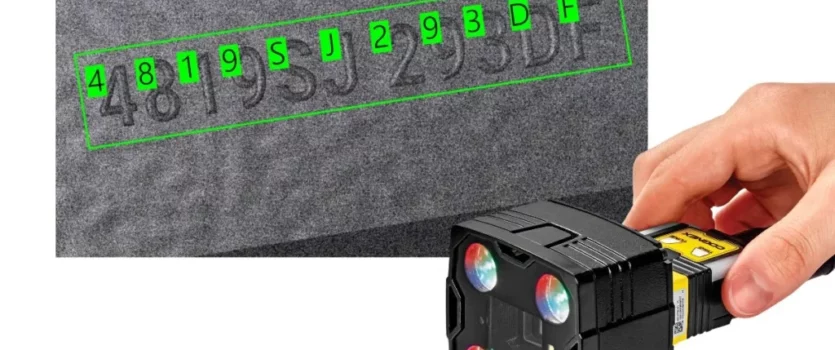
ManEx cameras can be used to inspect printed data on products, such as barcodes, labels, and serial numbers. This can help to ensure that the data is accurate and readable, and it can also help to prevent counterfeiting.
The large amount of data in the built-in dictionary contains approximately 80 different fonts that are used on FA sites.Variations for worn characters, blurring, distortion, different backgrounds, and size changes have been included to enable stable and highly accurate reading with the built-in dictionary even for some variations in the characters.It is not necessary to set parameters to compensate for character contrast or positional offsetting.
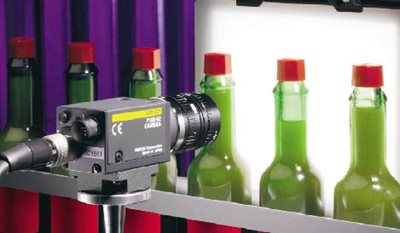
Fill Level Inspection
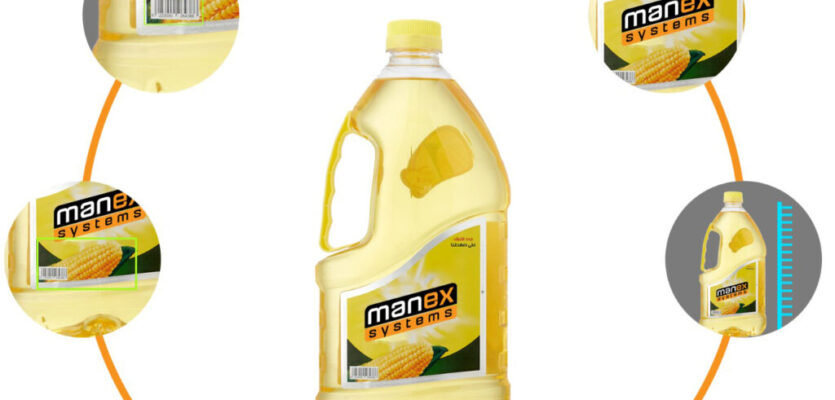
Level inspection is a quality control process that is used to ensure that products are filled to the correct level. Machine vision cameras can be used to automate this process by capturing images of products and then using image processing software to determine the level of the product.
There are a number of advantages to using machine vision cameras for level inspection. First, it is a non-contact method, which means that there is no risk of contamination. Second, it is a very accurate method, as it can measure the level of the product to a very precise level. Third, it is a very fast method, as it can inspect multiple products in a very short period of time.
Measurement Check using Laser Profile
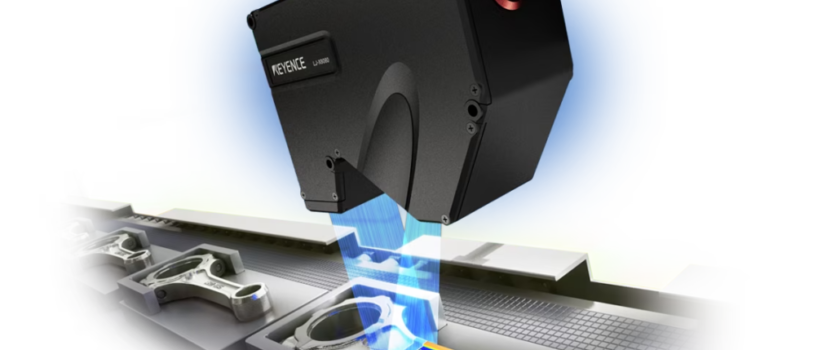
Laser profilers are a type of laser displacement sensor that collects height data across a laser line, rather than a single point. This allows for 2D/3D measurements such as height difference, width, or angle to be performed using a single sensor.
In addition to height data, KEYENCE profile sensors also collect intensity data, which provides a stable solution for inline measurement and inspection. The lineup includes a wide range of sensors to support a variety of applications and industries.
Our Technology partners


